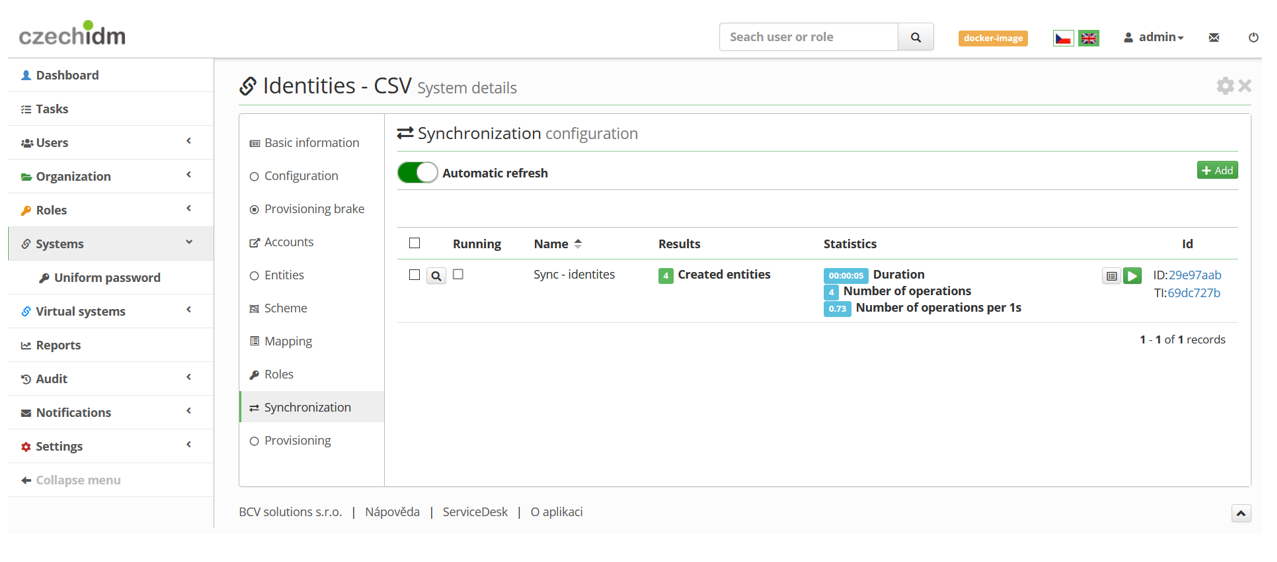

Systems - CSV: Source of identities via wizard
This tutorial will show you how to connect csv files as a source of data about users in CzechIdM. We will use the default CSV Connector.
Data source
Our sample source file has just these columns: LOGIN, FIRST NAME, LAST NAME, PERSONAL NUMBER, TITLES BEFORE, TITLES AFTER, EMAIL and PHONE
john.doe,John,Doe,789,Ing.,Csc.,john.doe@company.com,737456321
john.roe,John,Roe,788,BcA.,MBA,john.roe@company.com,603456789
adam.polak,Adam,Polak,777,MUDr.,h. c.,adam.polak@company.com,602456789
mike.pine,Mike,Pine,765,Ing. Arch.,FACC,mike.pine@company.com,736159753
Move your source file onto the server on which IdM is running. It's a good practice to put CSV files of every project into an "import_csv" folder, which you can create in the /opt/ directory (FIXME file can be uploaded via web browser directly in IdM, upload file into server isn't required). Set the owner of the folder and the CSV files to tomcat:tomcat. Set permissions so that the CzechIdM server will be able to read this file. Also, CzechIdM must be able to write into the folder where the file is located because the connector needs to create temporary files when processing csv into its location. (chmod 750 for folder permissions).
We recommend using the column names as upper-case, because the connector is case-sensitive and also it transforms the names of the columns to uppercase automatically. If you don't use upper case, you would have to change the attributes in the Scheme manually (see later).
Create system 'Identities - CSV'
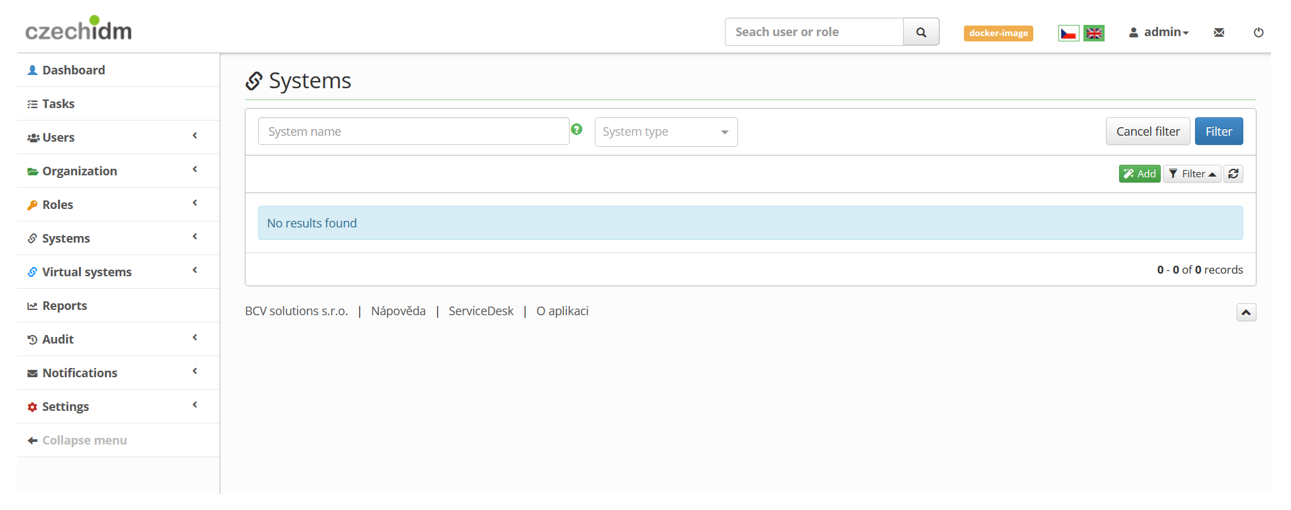
Start on the main screen, select Systems and click the Add button.
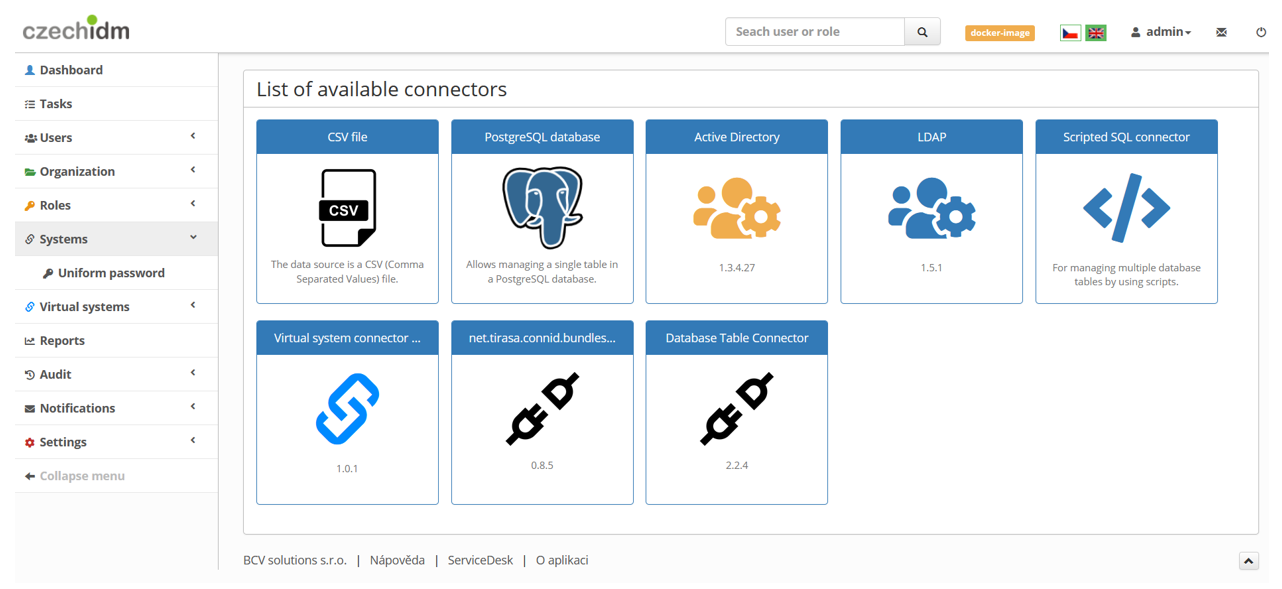
 On the wizards selection screen, select the wizard for CSV file.
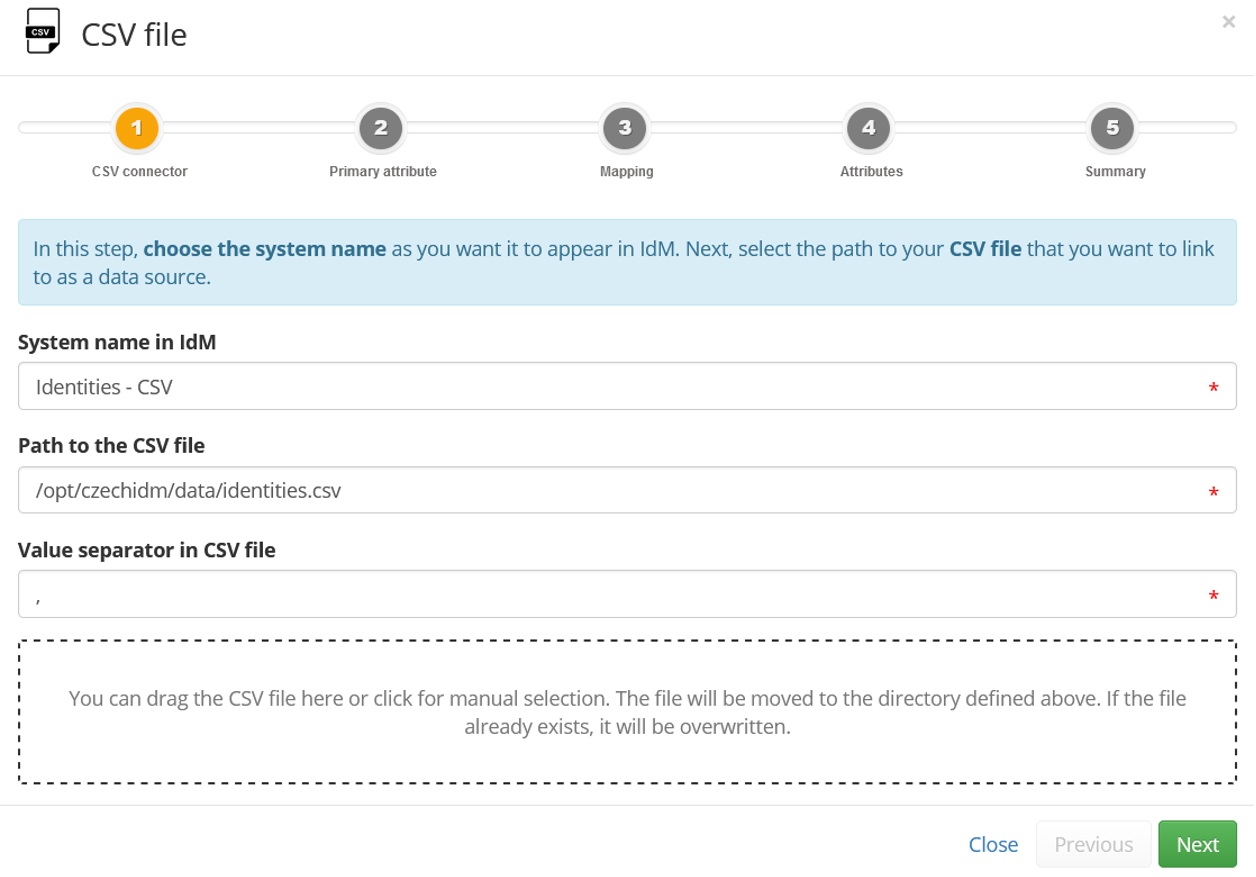
Connector configuration
Now we can start to configure the CSV connector and its settings.
Primary attribute
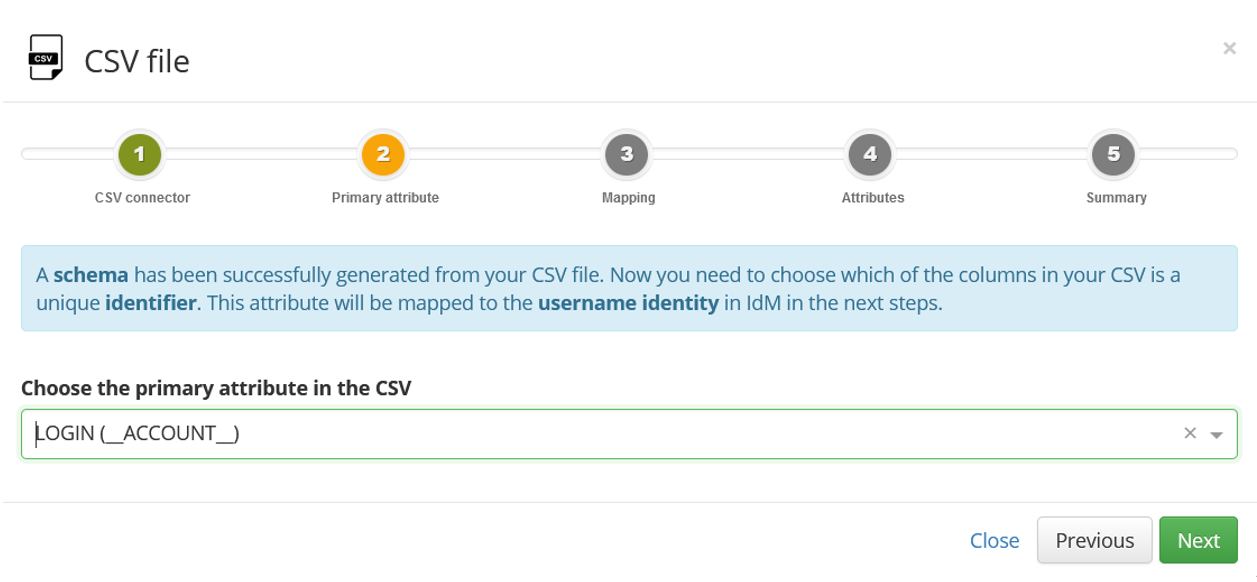
In the next step one of the attributes must be selected as primary identifier.
Mapping
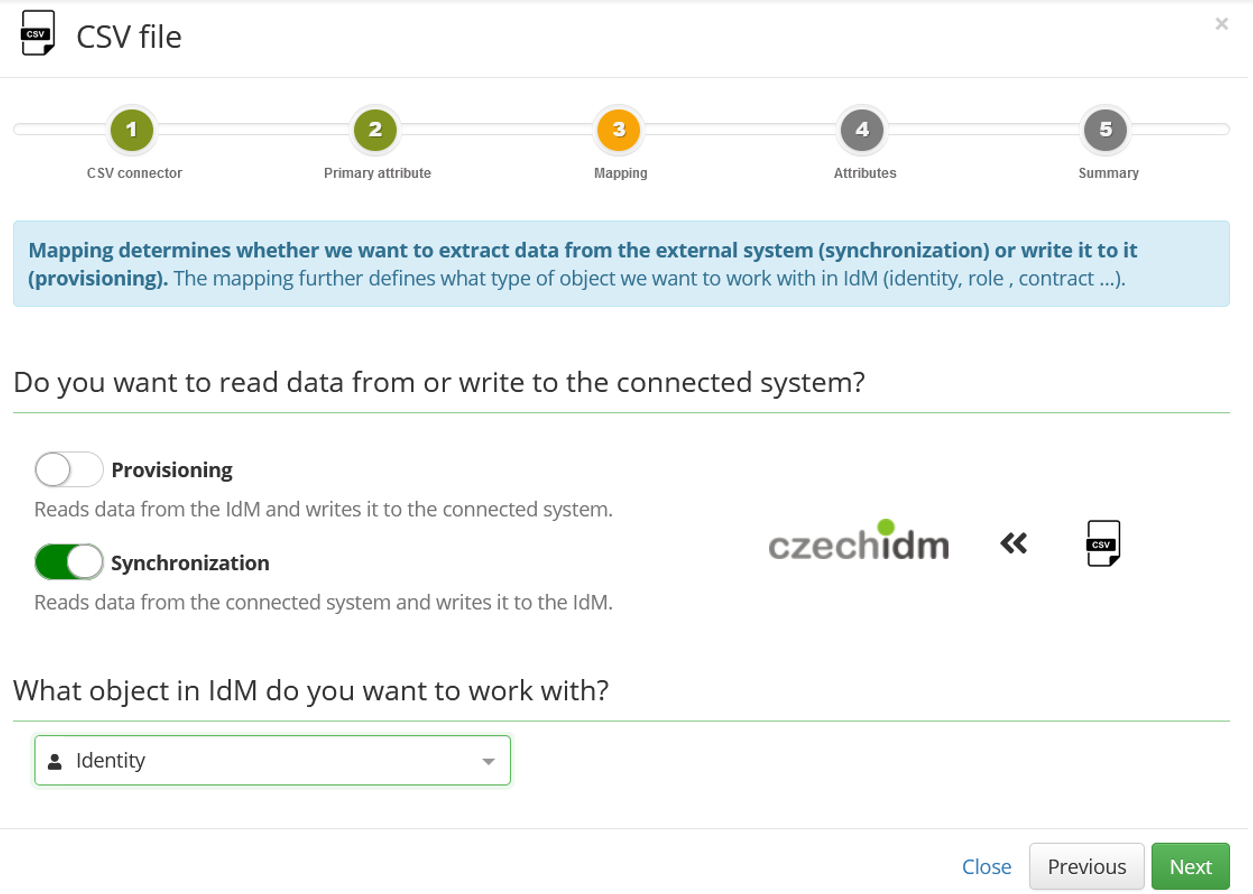
In the next step, we must choose whether the data will flow from the CzechIdM system or to the CzechIdM system and which type of object in CzechIdM will be used for this data processing.
Attributes
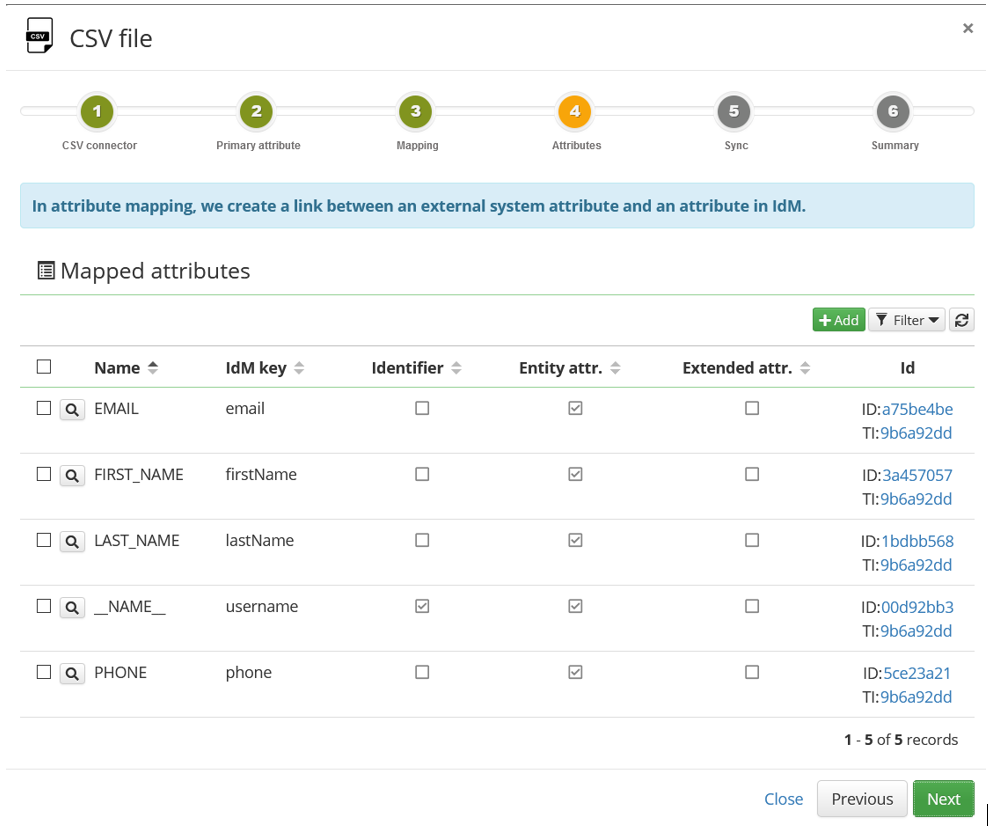
Now we have to map our attributes.
Sync
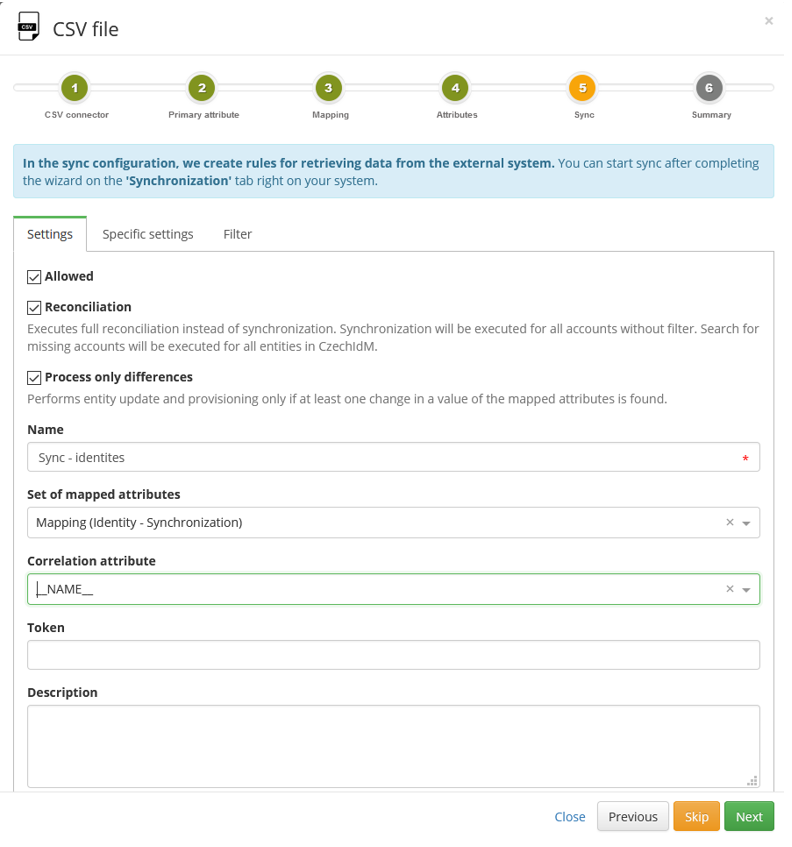
In the Sync configuration, we create rules for retrieving data from the external system.
Set the following in the Settings tab:
- Allowed: True
- Reconciliation: True (in this example, we don't use timestamps)
- Set of mapped attributes: Select the mapping from the previous step.
- Correlation attribute: \_\_NAME\_\_
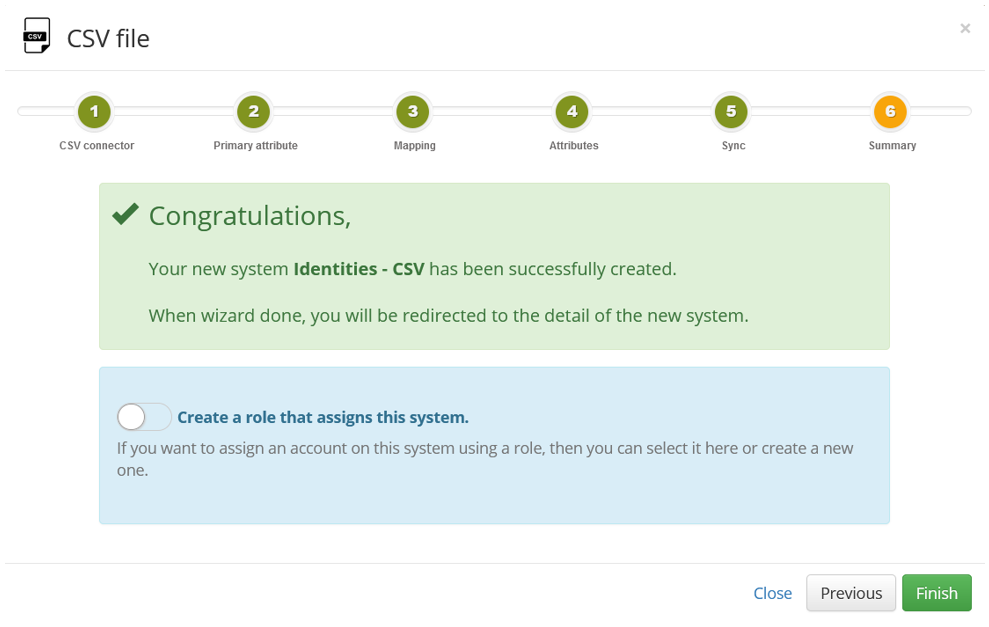
Synchronization
Finally we can start synchronization of identities, click the "Play" button.
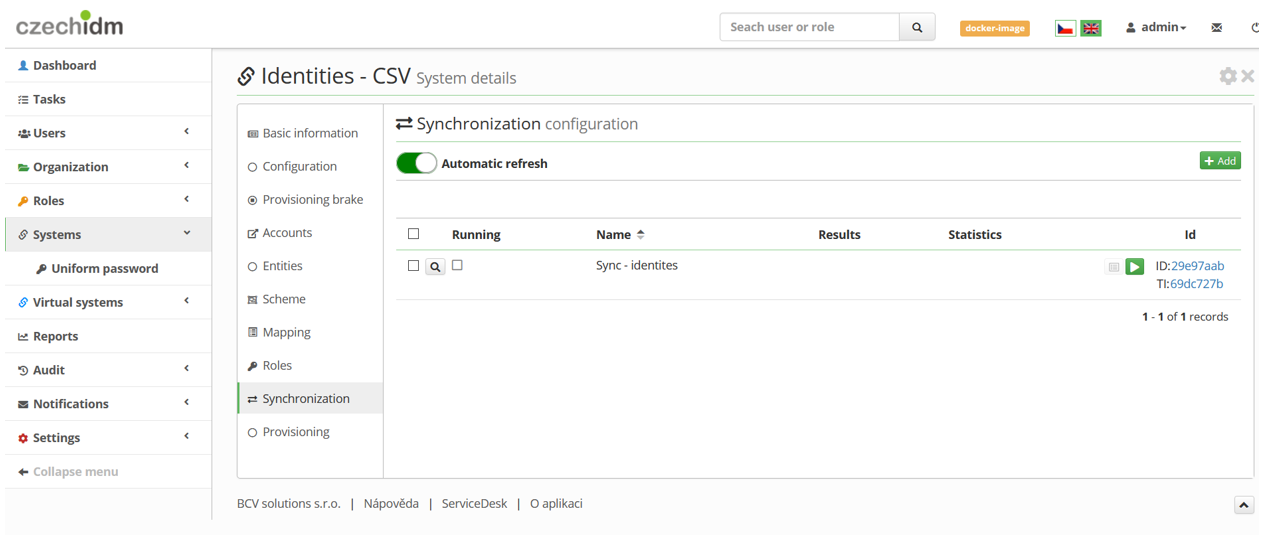
Log of sync
After the sync ended (it should not take than a few seconds), you can check result of sync. * You should see this: